Floor to Ceiling Floating Shelves: The Smartest Thing You Can Do in a Small Room
Walk into almost any small room and look up. Chances are the wall above the highest shelf stops being used somewhere between 60 and 72 inches off the floor. From there to the ceiling, nothing. That space is not doing any work.
Floor to ceiling floating shelves fix this. They run shelves from the baseboard all the way up to the ceiling, turning a single wall into a full storage and display system. The result is dramatic in two ways. First, you gain significantly more usable storage than any standard bookshelf provides. Second, the vertical line of the shelves draws the eye upward, which makes the ceiling feel higher and the room feel bigger.
This is one of the most cost-effective design moves available in a small room. The materials are not expensive. The installation is manageable for most people with basic tools. And the visual impact is immediate.
Why floor to ceiling shelves work so well in small rooms
The principle behind floor to ceiling shelving connects directly to how the eye reads a room. When storage stops at 72 inches, the eye stops there too. The upper wall becomes dead visual space and the room feels low and compressed.
When shelves run all the way to the ceiling, the eye follows them upward. The brain registers the full height of the room. Ceilings feel taller. Walls feel farther away. The room takes on a sense of scale that has nothing to do with its actual square footage.
Architects and interior designers use this trick in small apartments and urban homes all over the world. Built-in floor to ceiling bookshelves are a standard feature in New York City apartments, London flats, and Tokyo micro-homes for exactly this reason. They solve storage and perception simultaneously.
Floating shelves do this even more effectively than freestanding bookcases because the wall remains visible behind them. The absence of a back panel keeps the wall reading as a continuous surface rather than a blocked-off mass. The room stays light and open even as the shelves fill up.
“Shelves that stop at eye level stop your room there too. Let them run to the ceiling and everything changes.”
How to plan your floor to ceiling shelf layout
Before you buy or install anything, plan the layout. A well-planned shelf arrangement looks intentional. A random one looks like a furniture store stockroom. Here is a simple planning process that works for almost any small room:
- Measure the wall from floor to ceiling. Write down the exact height. Standard ceilings run 96 to 108 inches. Older homes sometimes have 84 or 90 inch ceilings. The number determines how many shelves you can fit.
- Decide on shelf spacing by zone. The bottom zone (floor to about 24 inches) works best with wider spacing to hold bins, baskets, and larger items. The middle zone (24 to 72 inches) is your most accessible area and should hold what you use most often. The top zone (above 72 inches) gets used for display, seasonal items, and things you access less than once a month.
- Plan for at least one shelf with extra clearance. A gap of 14 to 16 inches lets you store upright books, framed art, and medium-height objects cleanly. Every other shelf can run at 10 to 12 inches for general storage.
- Account for the baseboard. Most baseboards project 0.5 to 0.75 inches from the wall. Either cut your lowest shelf short or leave a gap at the bottom so the shelf sits flush.
- Mark your studs before you commit to anything. Floating shelves carry real weight once they are loaded. They need to hit studs or use heavy-duty drywall anchors rated for the load. A stud finder takes five minutes and saves you a wall full of holes.
What to put on each zone
The three-zone approach mentioned above gives you a framework for styling the shelves once they are up. Here is how to think about each zone:
The bottom zone is your workhorse. Heavy items, storage bins, baskets, and everyday objects live here. In a living room this might be board games, extra blankets, or media storage. In a home office it handles binders, file boxes, and equipment. Keep this zone functional rather than decorative.
The middle zone is where most people spend their visual attention. This is where your books, plants, framed photos, and favorite objects live. Style this zone with a mix of vertical books and horizontal stacks, a few small plants or objects, and some intentional empty space. The empty space is as important as the filled space. A shelf packed to every edge looks cluttered. A shelf with some breathing room looks curated.
The top zone is for display only. Items above 72 inches are hard to reach and get looked at more than touched. This is the right place for decorative objects, seasonal items, baskets with lids, or the books you have already read and want to keep but will not open again for a year. Keep the color palette consistent in the top zone since the eye reads it as a single visual band.
“The top zone is the most visible and the least used. Make it look good, not functional.”
Renter considerations: how to do this without losing your deposit
Floor to ceiling floating shelves are one of the few large-scale storage projects that renters can approach carefully. The key is using the right anchors and planning to patch the holes before you move out.
Standard drywall anchors leave small holes that patch and paint invisibly in under ten minutes per hole. Hitting a stud leaves no hole at all when the shelf comes down. The wall damage from a set of floating shelves is genuinely smaller than most people expect.
If your lease prohibits wall holes entirely, a freestanding floor to ceiling shelving system that uses a tension pole or top rail against the ceiling achieves a very similar look without any wall contact. These systems are common in Japan, where renters face the same restrictions, and several strong options are available in the US market.
Either way, talk to your landlord before you start. Many landlords are fine with floating shelves installed and patched properly. Getting permission in writing costs you nothing and protects your deposit.
Our top three floating shelf picks for floor to ceiling installations
All three options below work well for floor to ceiling runs. Choose based on your load requirements, aesthetic, and wall type. Verify current pricing before publishing.
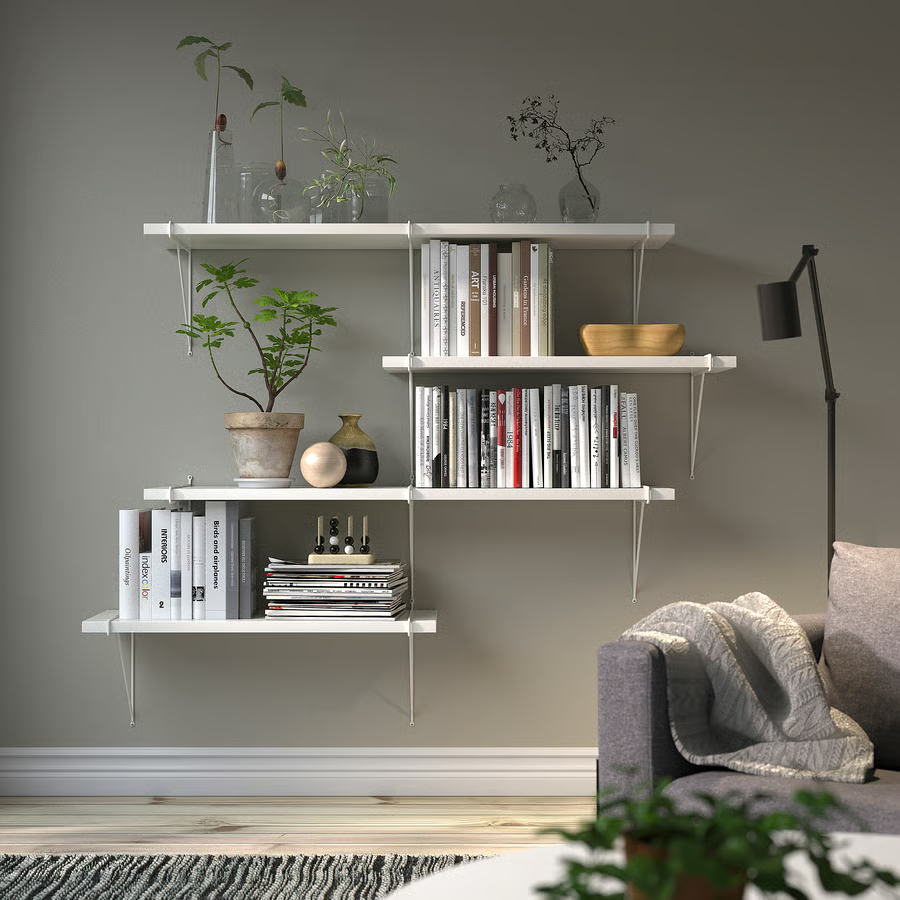
| #1 IKEA BERGSHULT Floating Shelf with PERSHULT Bracket $25 to $45 per shelf | IKEA | 4.7 stars (4,200+ reviews) |
| The most popular floating shelf for floor to ceiling installations in small rooms. The BERGSHULT shelf comes in 47 and 59 inch widths in white, black, and a warm beige tone that reads as wood from a distance. The PERSHULT bracket is sold separately and holds up to 33 pounds per shelf. The clean bracket design stays minimal against the wall. Reviewers consistently praise how true the finish color is and how easy the installation is. For a floor to ceiling run, IKEA allows you to mix widths on the same wall for a more custom look at a very low price per shelf. |
| #2 Wallniture Nurneo Floating Shelves (Set of 3) $55 to $75 per set | Amazon | 4.6 stars (3,800+ reviews) |
| The best value for buyers who want to run multiple shelves quickly. The Nurneo set comes in three shelves per box in lengths from 24 to 36 inches. The construction is solid pine with a smooth paint-ready finish. Each shelf holds up to 44 pounds when mounted into studs. Reviewers consistently note that the shelves arrive with no warping, the mounting hardware is complete and well-labeled, and the finish accepts paint cleanly for buyers who want to match a specific wall color. Buying multiple sets for a floor to ceiling run brings the per-shelf cost down significantly. |
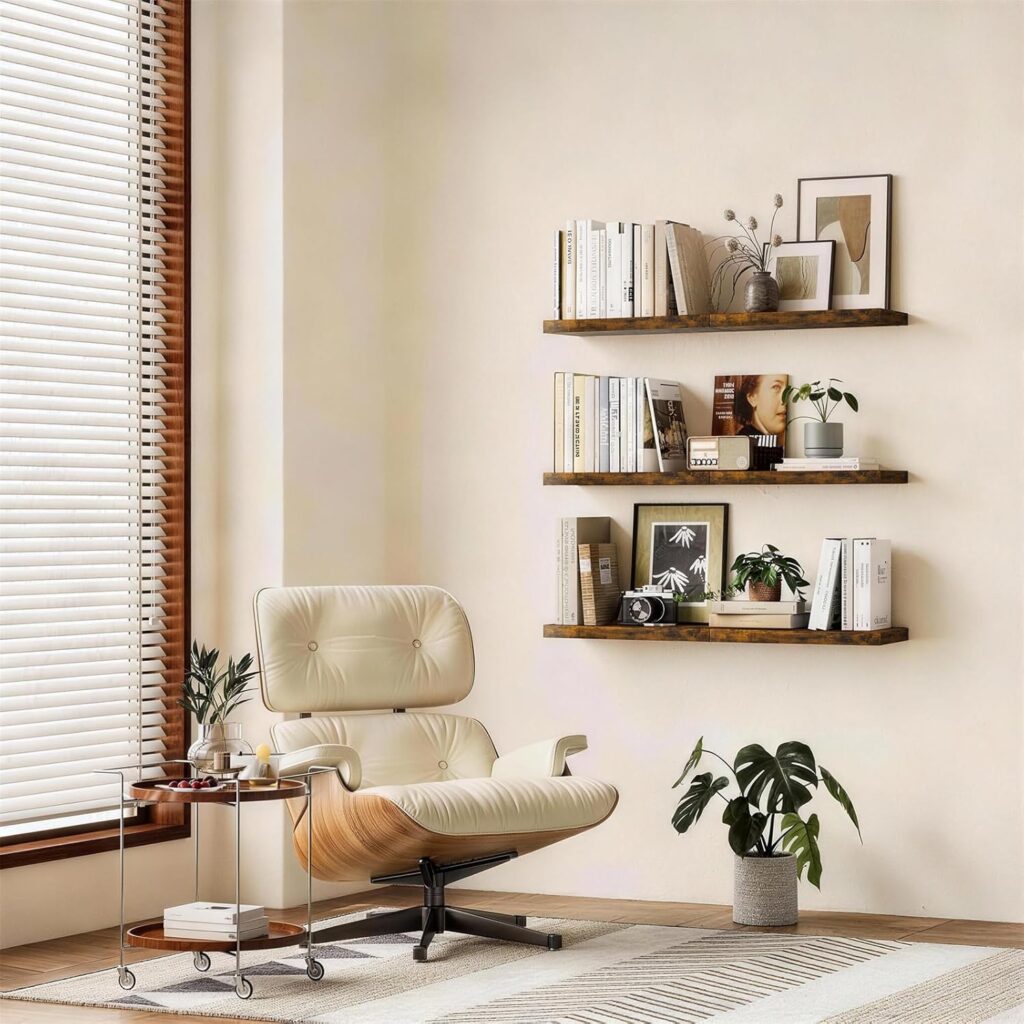
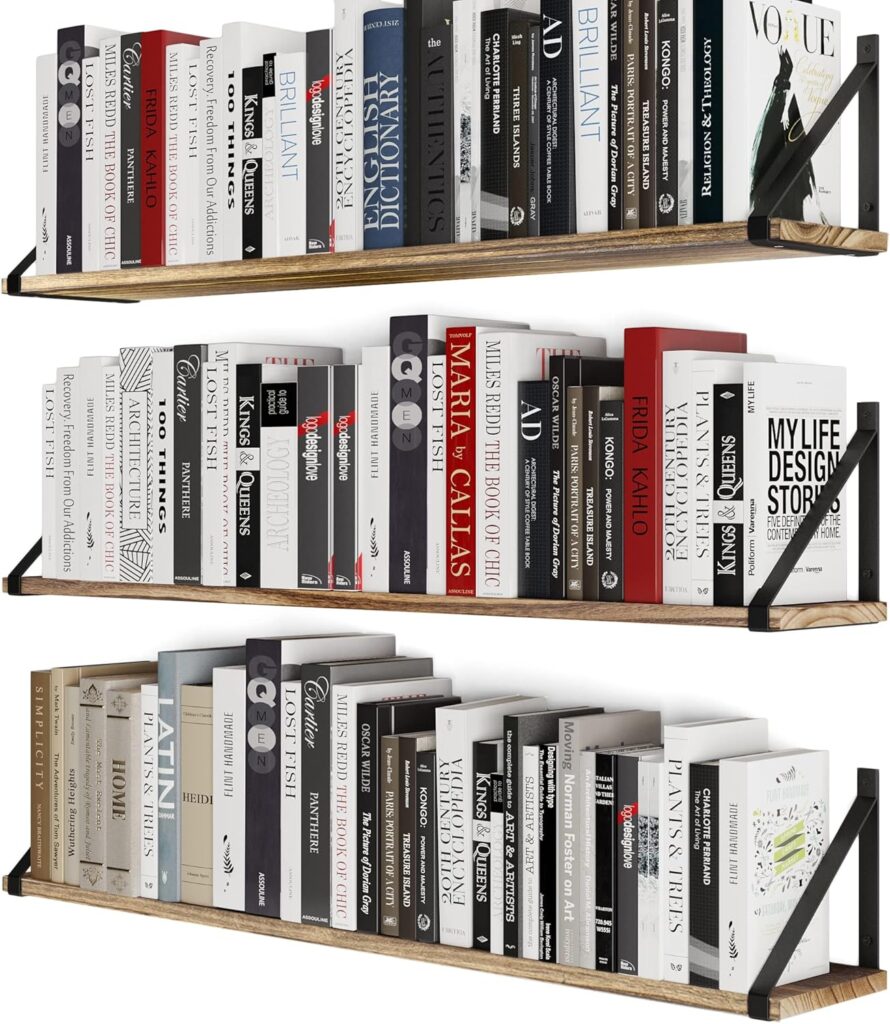
| #3 BAYKA Floating Shelves Rustic Wood Set of 3 $40 to $55 per set | Amazon | 4.5 stars (6,100+ reviews) |
| The best pick for warm, natural-finish shelves in a Japandi or minimalist space. The BAYKA shelves use a rustic wood finish that adds texture and warmth to neutral walls without requiring any painting or finishing. Each shelf holds up to 22 pounds — lower than the other picks but sufficient for books, plants, and decorative objects in the middle and upper zones. The invisible bracket system means no hardware shows from the front. With over 6,100 reviews and a 4.5-star rating, this is one of the most trusted floating shelf products in this price range. |
Five styling rules for floor to ceiling shelves
The installation is the easy part. Styling floor to ceiling shelves well is where most people get stuck. These five rules will get you most of the way there:
- Use the same shelf color throughout the run. Mixing finishes on a floor to ceiling wall looks accidental. Pick one finish and run it consistently from bottom to top.
- Vary the contents, not the shelves. Different sizes of books, a plant here, a ceramic there, a basket somewhere else. The variety comes from what is on the shelves, not from the shelves themselves.
- Leave 20 percent empty. At any given time, roughly one in five shelf slots should be open. This is the single most important styling rule and the one most people ignore because it feels wasteful. Empty space makes everything else look intentional.
- Put your heaviest and tallest items on the bottom two shelves. This follows the natural visual weight of any vertical composition and prevents the arrangement from feeling top-heavy.
- Add one plant per vertical section. A trailing plant on a mid-level shelf or an upright succulent on a low shelf adds life to the arrangement without cluttering it. One plant per section is enough.
The bottom line
Floor to ceiling floating shelves do three things at once that no other piece of furniture can match: they maximize storage, make a small room feel taller, and turn a plain wall into the most considered part of your home.
The IKEA BERGSHULT system gives you the most flexibility per dollar and works especially well in modern and minimalist spaces. The Wallniture Nurneo is the right choice if you want to install a full floor to ceiling run quickly and in one order. The BAYKA set gives you a warm natural finish that photographs beautifully and works in any Japandi or earthy neutral interior.
Measure your wall, mark your studs, plan your zones, and get them up. This is one of the few upgrades in a small room where the result is bigger than the effort it takes to get there.